Procedurally Generated Landscapes
March, 2020
During my Artlab fellowship in 2019, I began to explore emulating nature through code. I began by looking at landscape portraits and exploring algorithms which attempted to describe them, such as the boids algorithm for simulating flocking birds.
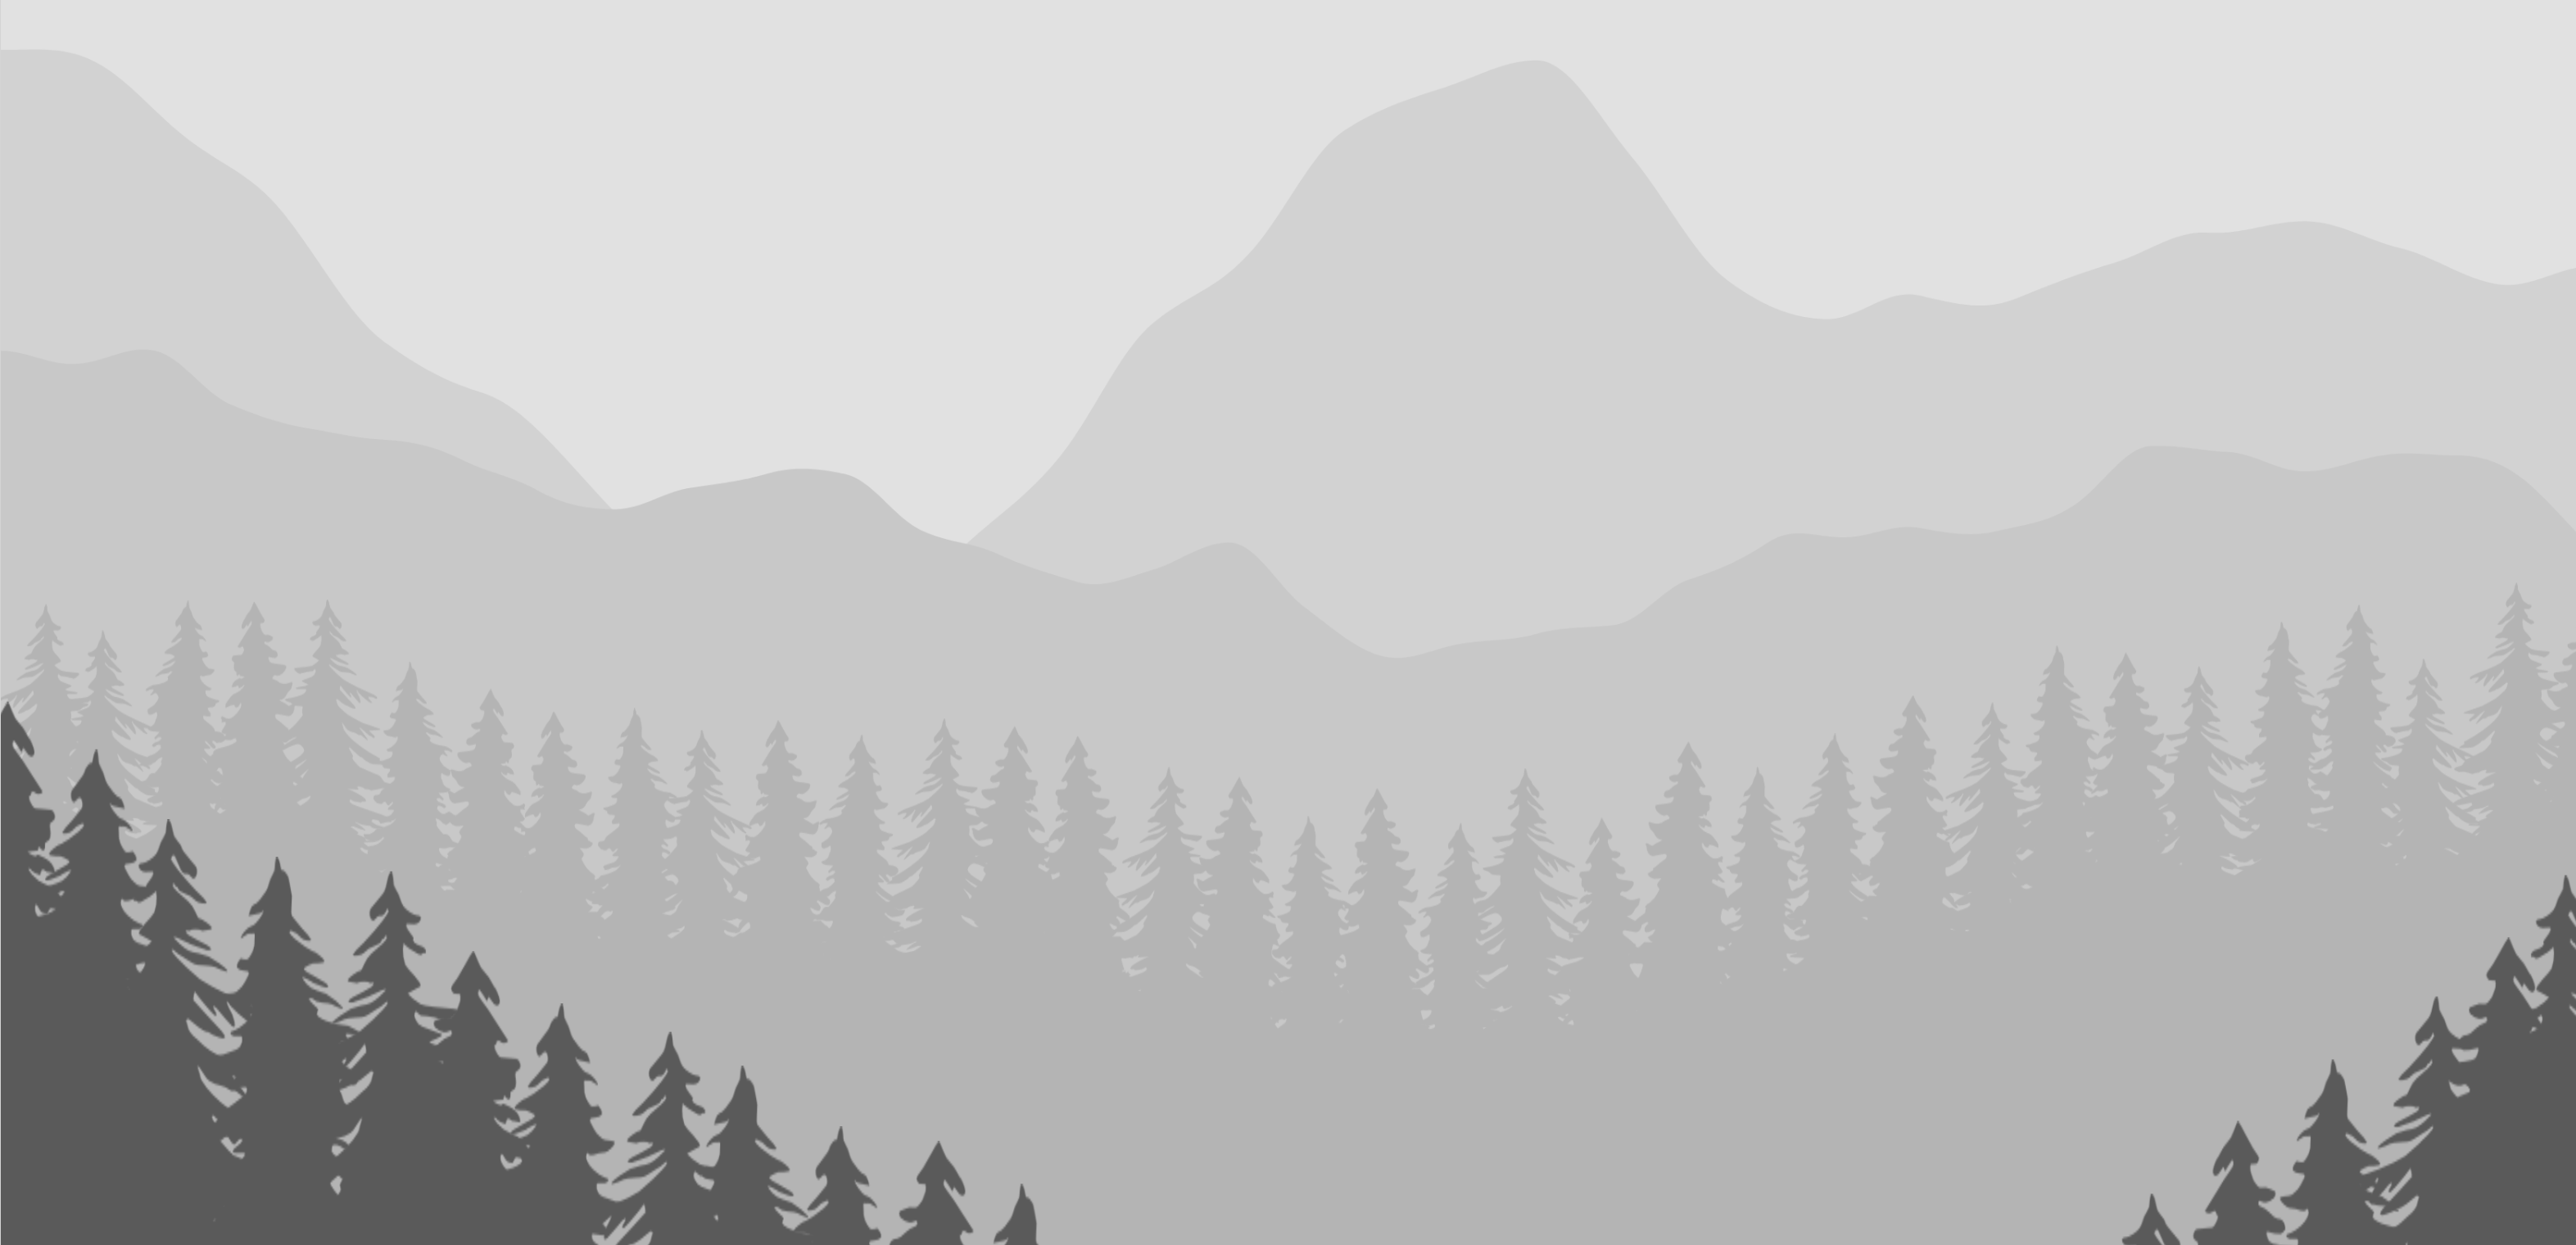
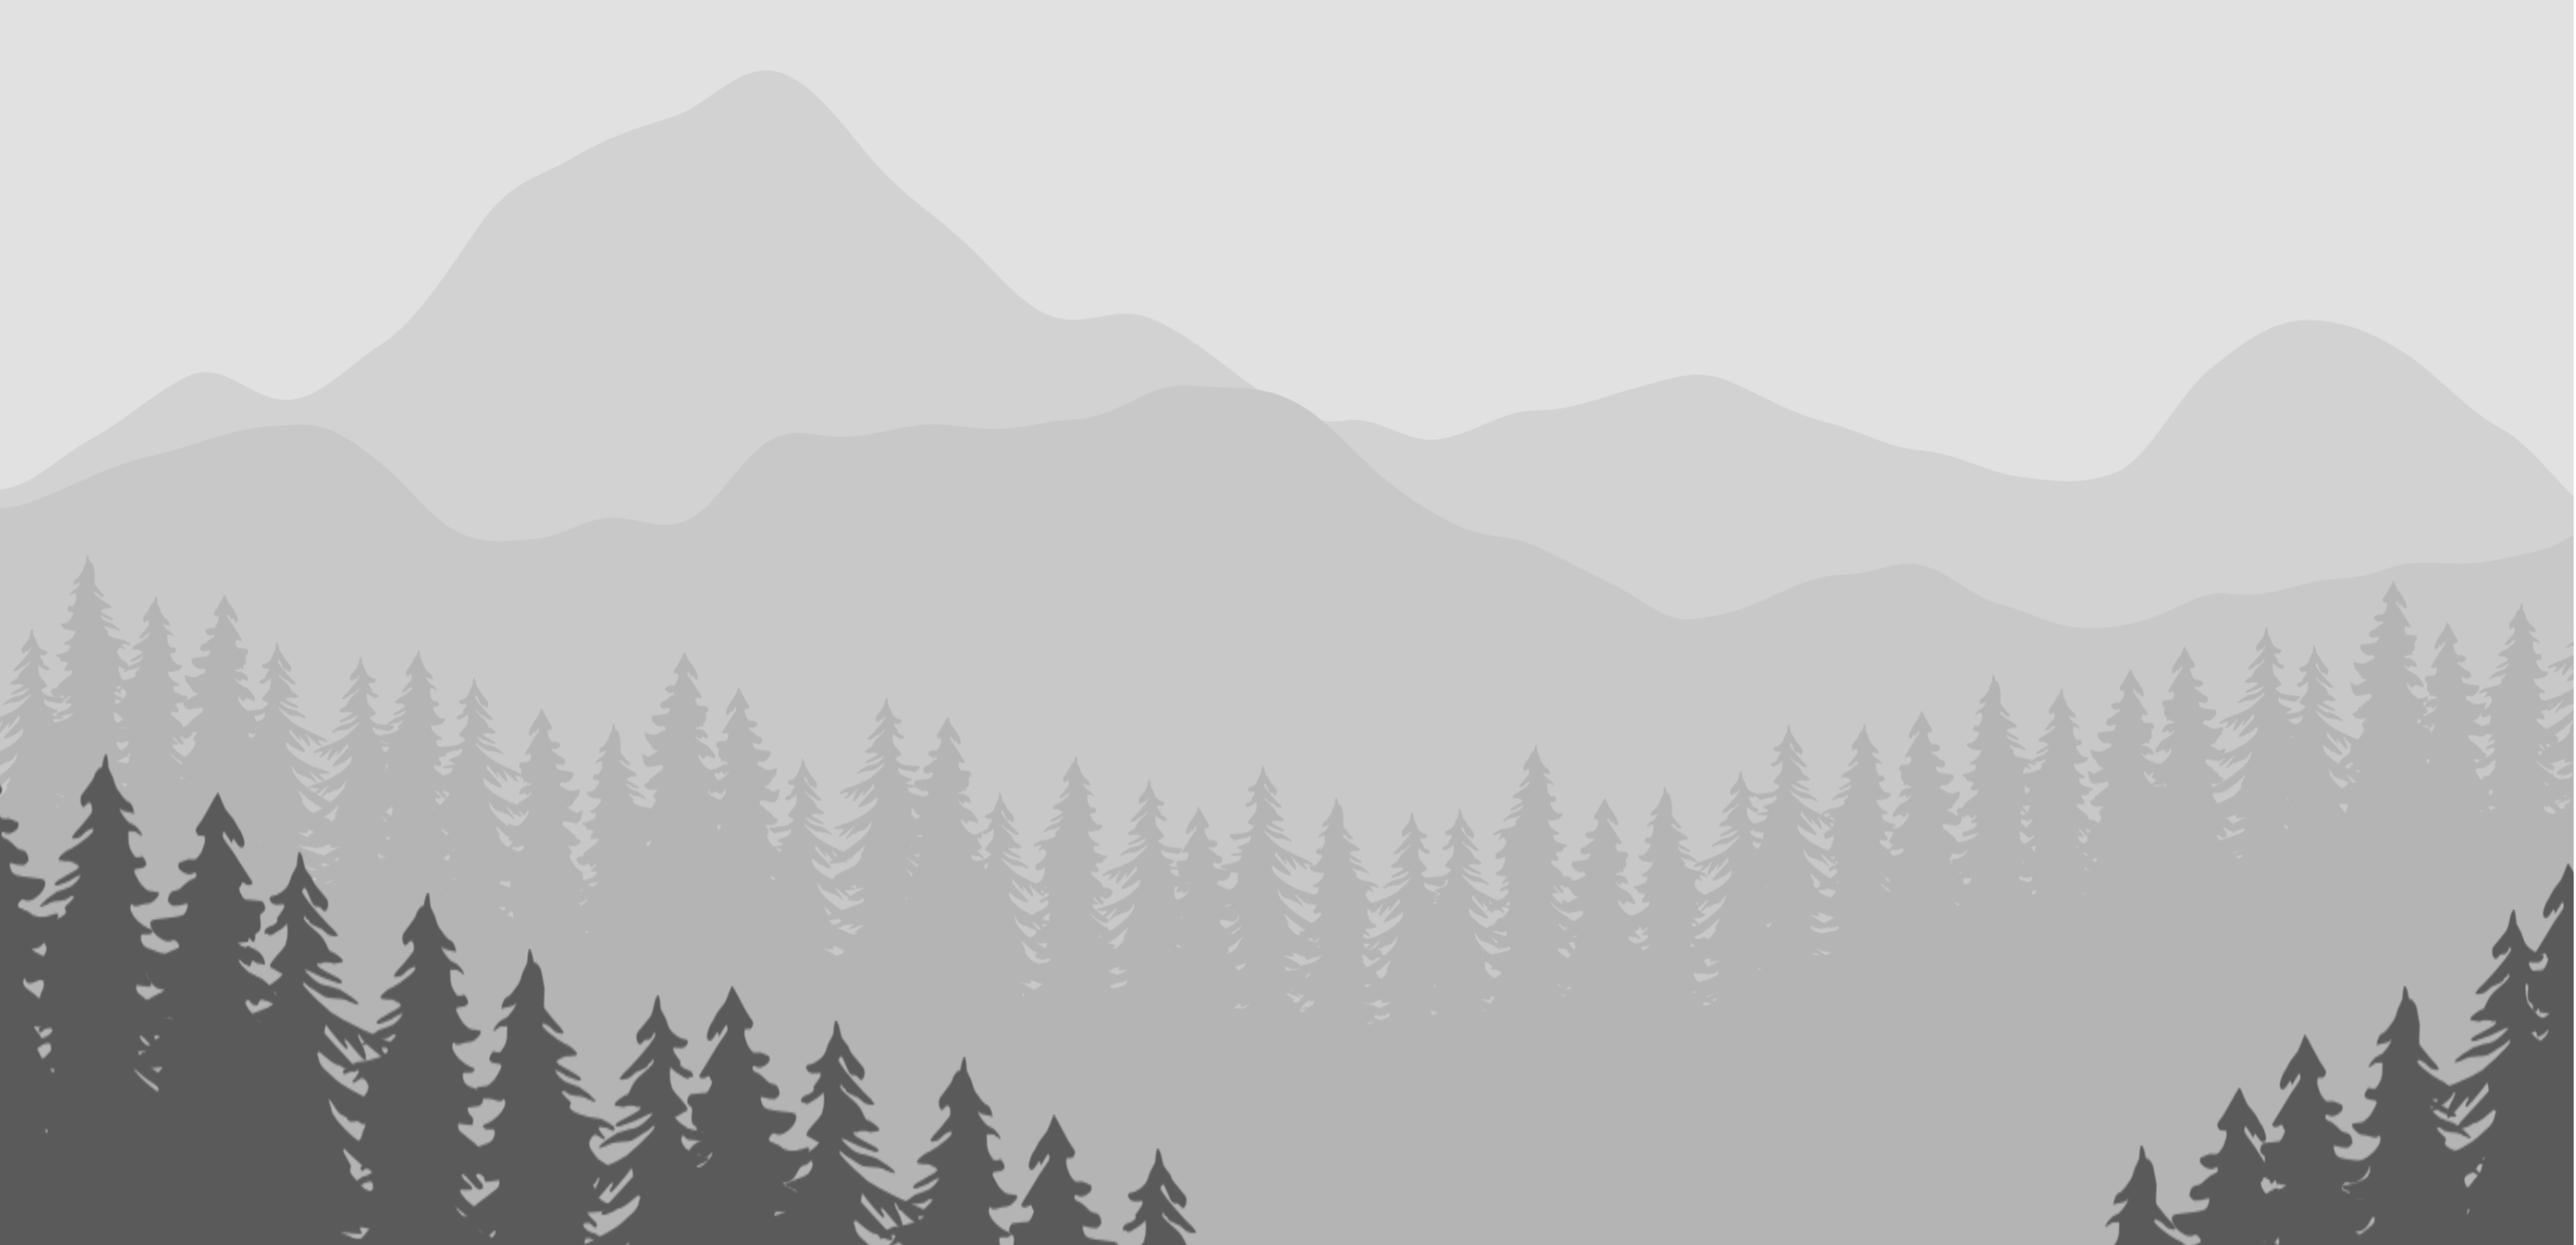
I decided to start by recreating a simple landscape and found an abstract mountain scene shown in the image below. To use this image on my site without a watermark, it would cost $3, and to get full rights to this image it would cost almost $100.

These prices seemed exorbitant, and I realized that I could recreate the scene using code. I decided to utilize p5.js, a library for javascript built from processing. I split the code up into three tasks:
1. Drawing Mountain Ranges
I decided to utilize perlin noise for both sets of mountains. Pelin noise, written as noise() in p5.js, can be thought of as an n-dimensional smooth, continuous terrain. In the 3 dimensional case, when we give the noise() function inputs of an x and y value, it returns the z value on the terrain at that point. If we increase x or y by a slight amount, it will generate a different random value that will be continuous with the previous one. This site gives a good description of how the function works, and how to utilize it to generate landscapes.
Our case is two dimensional, meaning that we are trying to generate a single y value for the top of the mountain based on the x position. However, we want the back mountains to be taller and smoother than the front to make the front mountains appear closer.
To set the y heights of both sets of mountains, we will map the noise value which is between 0 and 1 to a selected range of the windowHeight. Note that the y value of the canvas in p5.js increases top to bottom, so we are mapping the back mountains to a smaller value. To make the back mountains smoother, 0.8 is multiplied by x in the noise function, which means that less distance is traveled between each point. This stretches the back mountains out in the x direction, making them smoother.
wH = windowHeight
yBackMountain = map(noise(0.8*x), 0, 1, 0.2*wH, 0.4*wH)
yFrontMountain = map(noise(x), 0, 1, 0.25*wH, 0.5*wH)
The above code generates a y point for the front and back mountains with an x input. Now, we need to loop through all of the x in the canvas and set a y point for each x. These x and y values will be saved into arrays to be used for drawing.
counter = 0
wH = windowHeight
for (x = 0; x<windowWidth, x++){
    xMountains[counter] = x
    yBackMountains[counter] = map(noise(0.8*x), 0, 1, 0.2*wH, 0.4*wH)
    yFrontMountains[counter] =map(noise(x), 0, 1, 0.25*wH, 0.5*wH)
    counter++
}
Once these values have been found, all we have to do is loop through the arrays we created and add the point to a polygon. The code was split up in this way because there are two different loops in processing: setup and draw. We do the more computationally heavy work in setup which runs once, and then simply run through these arrays in the repeating draw loop. To close the polygon, we add vertices in the bottom corner of the window, and then add the final vertex back at the inital point.
beginShape()
vertex(0,windowHeight)
	while (counter < xMountains.length) {
		vertex(xMountains[counter], yBackMountains[counter])
		counter++
	}
vertex(windowWidth, windowHeight)
vertex(0,yBackMountains[0])
endShape(CLOSE)
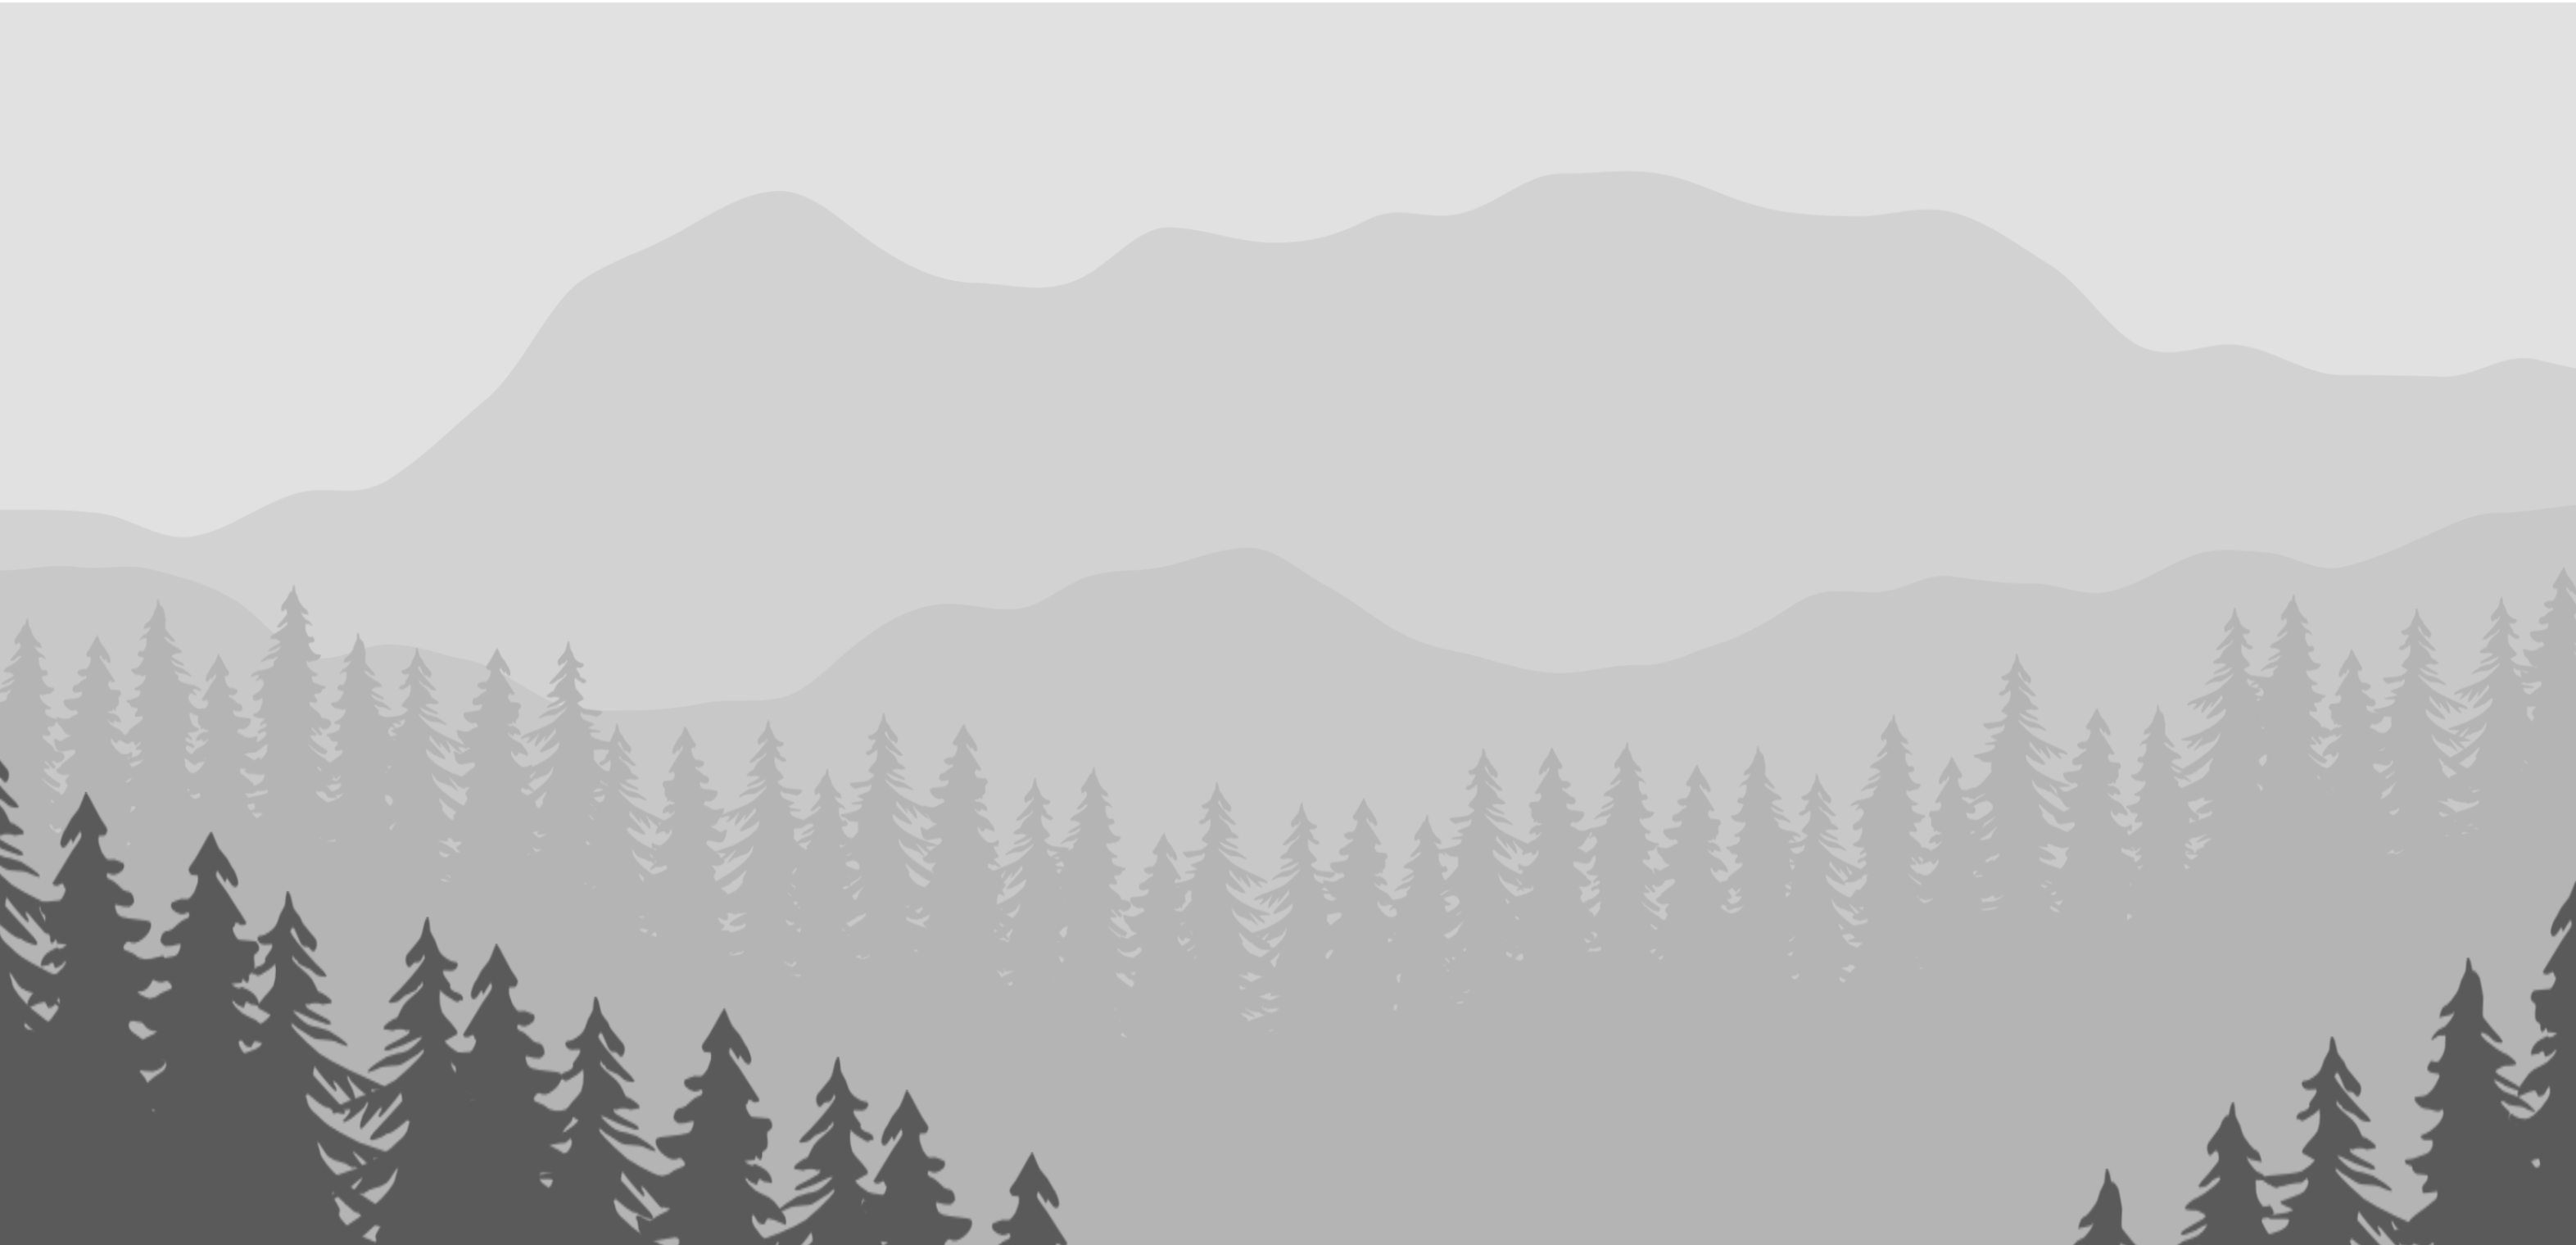
If we draw both sets of mountains like above, our output will look something like the image below. Since the perlin noise function is random, the mountains will change each time that the function is run.

2. Drawing and Placing Trees
Now that we can draw both the front and back mountains, we need to work on drawing both sets of trees. Although we could probably write a recursive function to make the tree branches, I decided to create the assets in Illustrator. I created four different tree styles based on a few tree references, and created four slightly different trees by flipping the other styles horizontally.
To find where the trees should be placed, two different methods were used for the front and back tree lines. To find the back tree line, the y value was chosen based on the function of sin()*cos(), coupled with a few values which randomize the curve y offset, period, and amplitude, shown below.
randAmplitude = random(120,125)
randOffset = random(-30,30)
angle = x*PI/windowWidth - PI/4
yBackTree = randAmplitude * sin(angle) * cos(angle) + (0.55*windowHeight) + randOffset)
When drawing the trees, I made sure to randomly select one of the images I created, as long as the same image doesn’t appear twice in a row. There is a problem, however, in that the lower portions of the branches create a gap between them, shown below, which makes the trees look artificial.

To solve this, I created a polygon of the same color of the trees which lies below the top of the trees, essentially masking the lower empty space. To do it, I ran through all of the points containing trees and added a vertex 150 px below the top of the tree. As I did before with the mountain polygon, I added several points to make the shape have a closed form.
beginShape()
	while (x < xBackTrees.length) {
		vertex(xBackTrees[x], yBackTrees[x] + 150)
	}
	vertex(windowWidth, windowHeight)
	vertex(0, windowHeight)
	vertex(0, yBackTrees[1] + yOffset)
endShape(CLOSE)
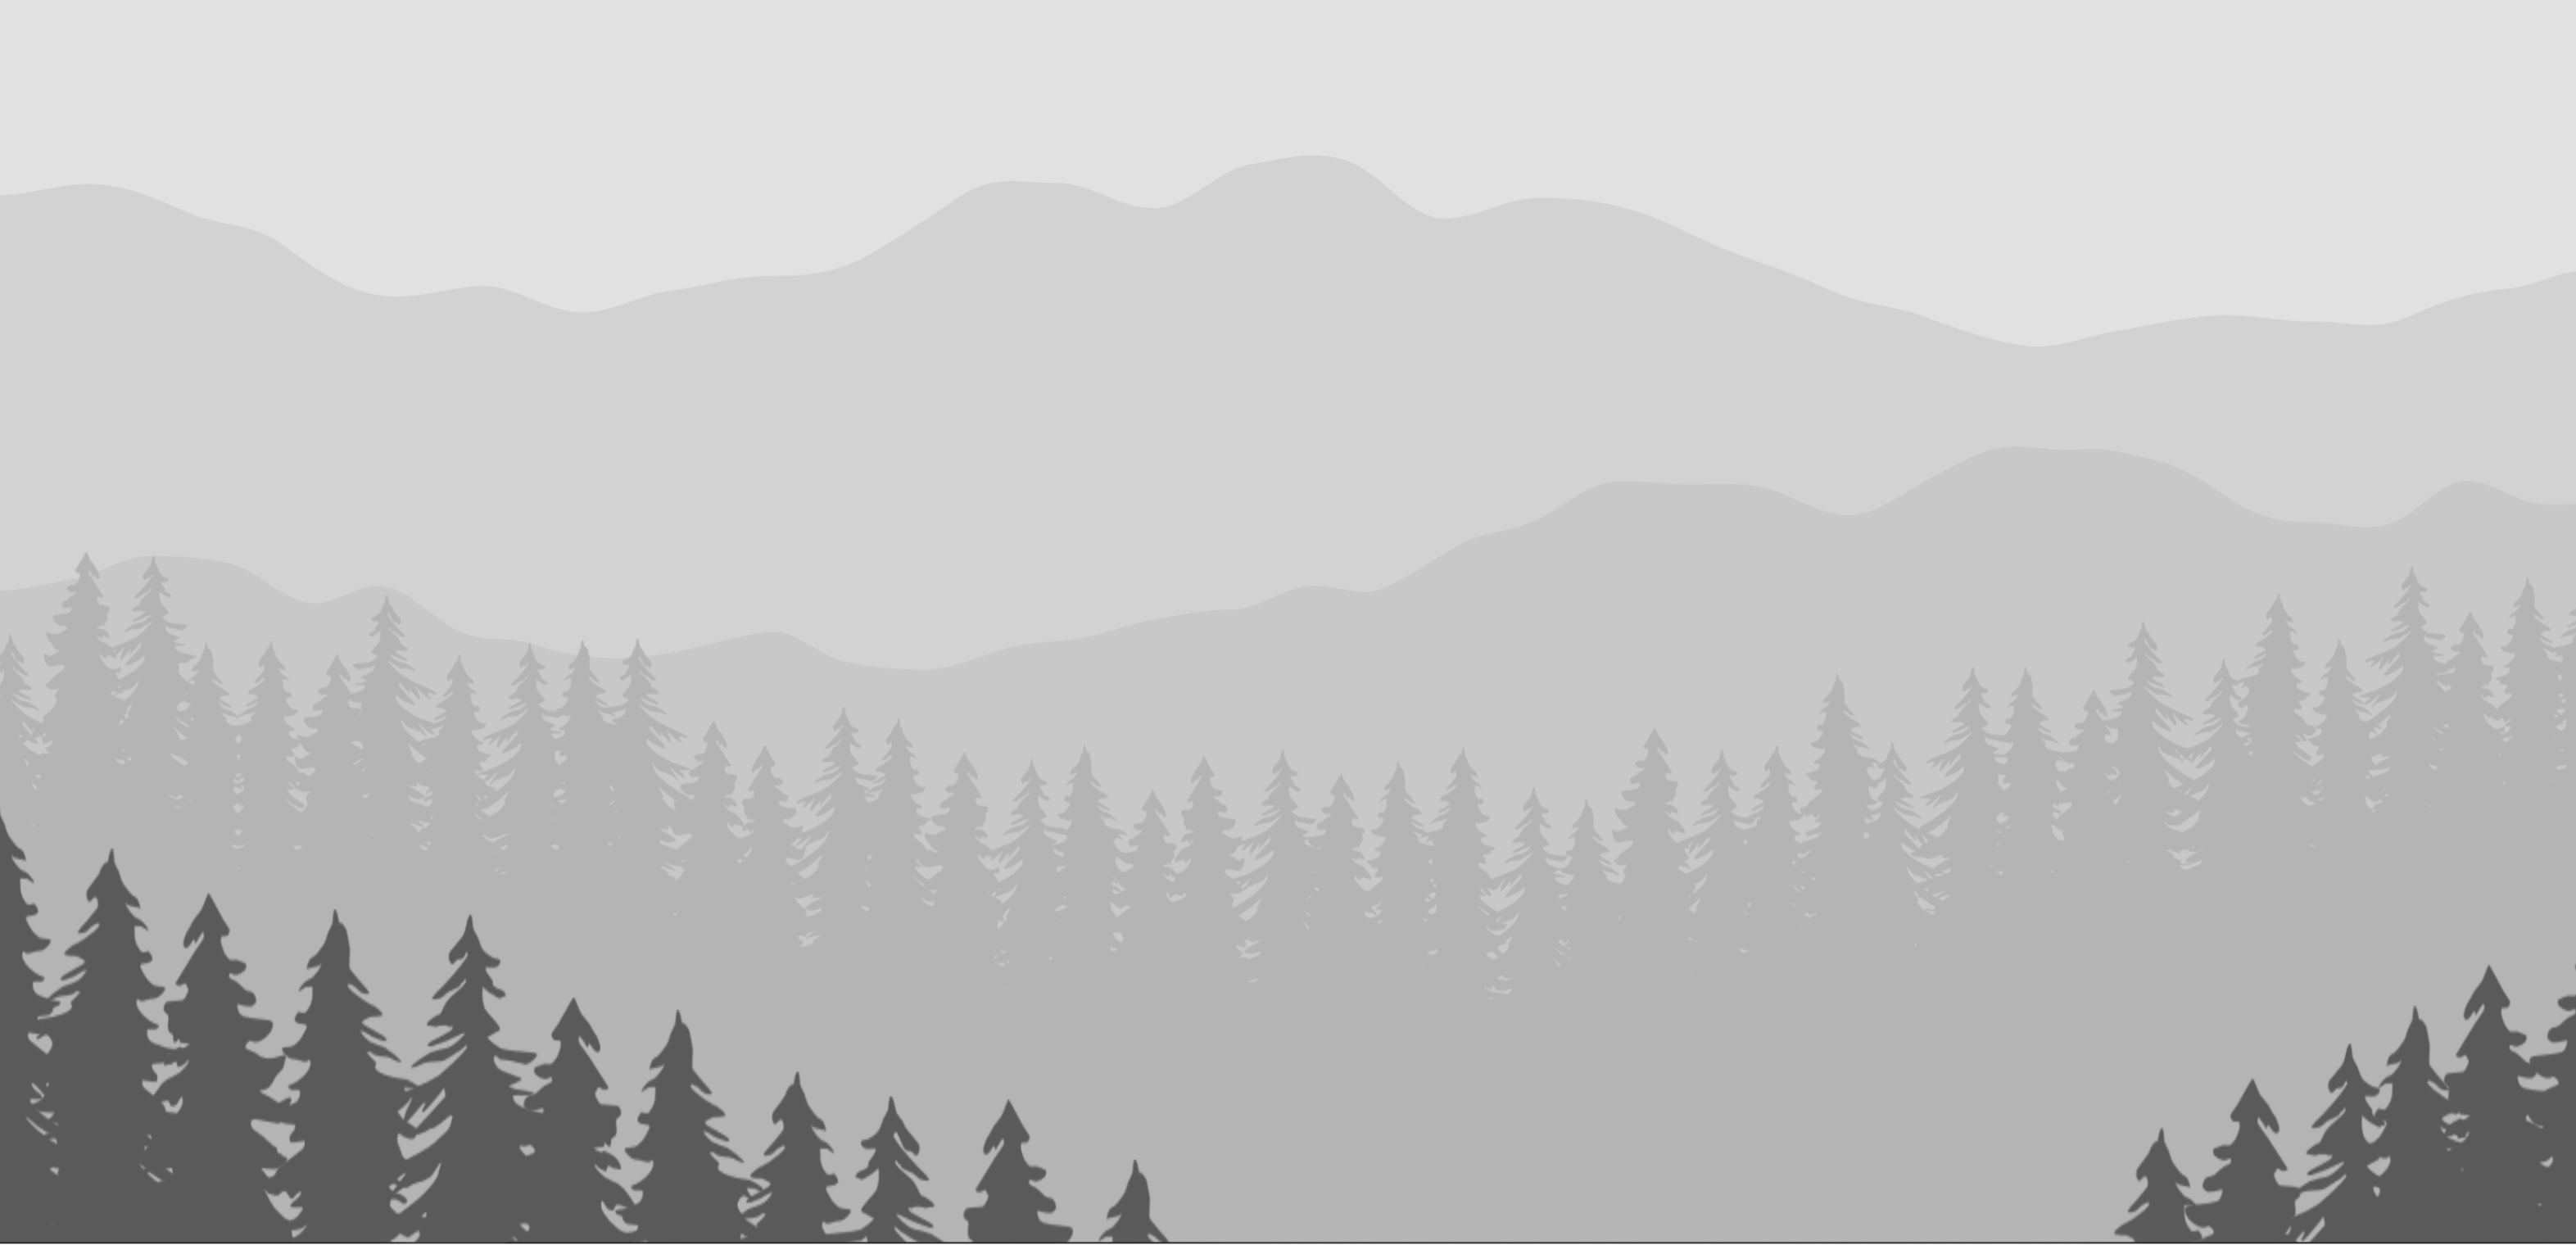
The addition of this polygon makes the trees appear much denser than they are, shown below.

For the front trees, I split the process into two lines, one on each side. Then, I went along the line and added a tree along the line plus or minus some random variation in the y-height. Since the trees are closer to the viewpoint, only the tops of the trees are seen, so a polygon on the bottom wasn’t necessary.

3. Bringing It All Together
Now that all of the individual elements have been created, I needed to bring them together. The first thing that I did was to define all of the points for the mountain and tree sections in the setup() loop. This allowed for most of the heavy lifting to be done once in the setup. To draw the elements in the draw() loop, I simply had to run through the arrays previously created and draw the elements. I wanted the image to change in a set time frame, so I used millis() and a simple timer to reset the randomSeed and rerun the initialization functions, which re-randomizes the scene.
setup(){
	randSeed = random()
	timer = 0
	initMountains(randSeed)
	initTrees(randSeed)
}

draw(){
	drawMountains()
	drawTrees()

	if(millis() > timer + delayTiming*1000){
		newSeed = random()
		initMountains(newSeed);
		initTrees(newSeed);
	}
}
The final result allows for you to emulate the shutterstock terrain while maintaining ownership of the picture! I have included several of my results below. Due to the random nature of the code, a wide range of images can be created and fine-tuned until you find one which suits your needs.

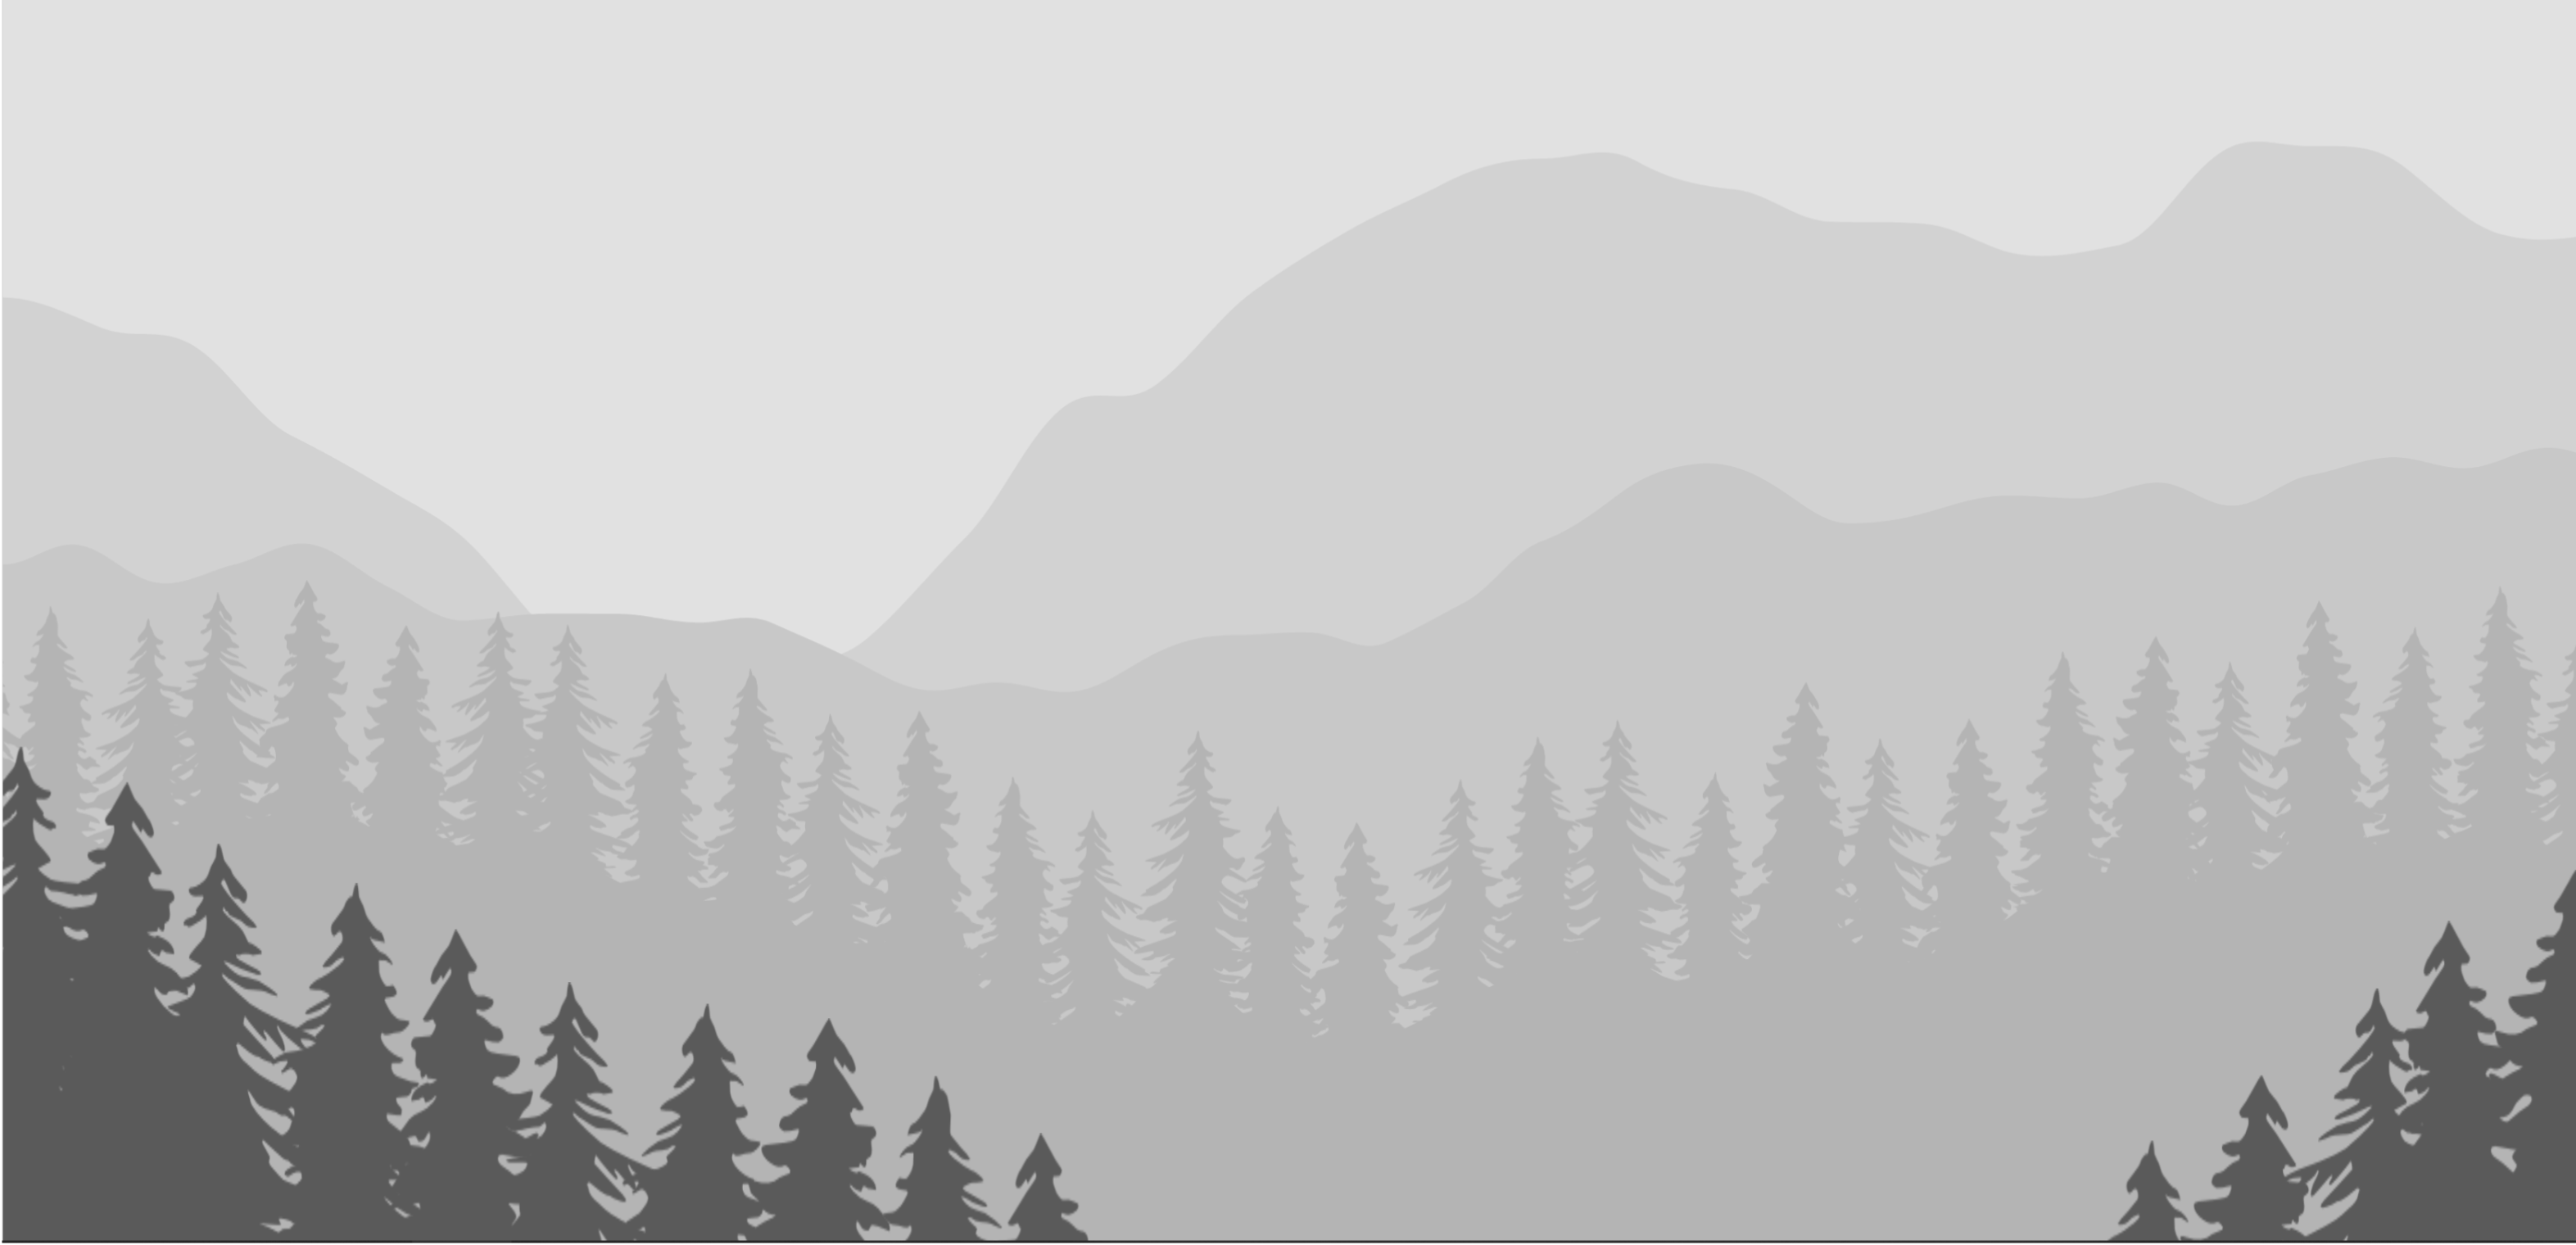
Thanks for reading through the project. If you want to look at the code or have any questions, drop me a line.